Tutorial
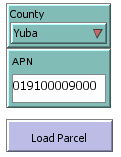
This is a brief tutorial designed to showcase what the Irrigation Planner can do and just how easy it is to use! When you open the Irrigation Planner, the first thing you’ll need to do is select your county and enter the APN (Assessor’s Parcel Number) of your property:
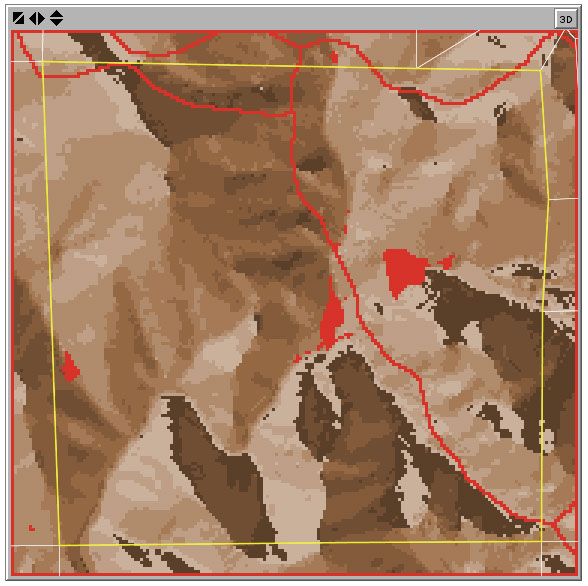
Clicking Load Parcel will display a map of your parcel:
You can see the hills displayed in brown. Your parcel is outlined in yellow; neighboring parcel outlines are in white. Existing roads, developed areas, irrigation ditches, creeks, ponds, and wetlands are all displayed in red.
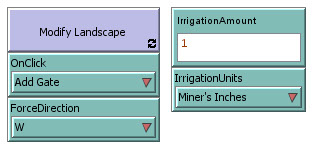
Next, there are a number of controls that allow you to set up your irrigation scenario:
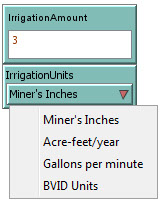
First let’s change the irrigation amount to 3 Miner’s Inches. You can also change your Irrigation Units now if you wanted to, but we will leave them as Miner’s Inches (the default):
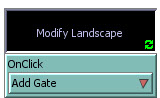
Next, we click the Modify Landscape button. It will turn black, indicating it is ON.
While this button is ON, clicking on the map will modify the landscape. What clicking does is determined by the OnClick dropdown immediately below the Modify Landscape button. The default is Add Gate, which is what we want—to make an irrigation gate to release water from! Let’s put three gates in the northwest corner of the parcel by clicking on the landscape there:
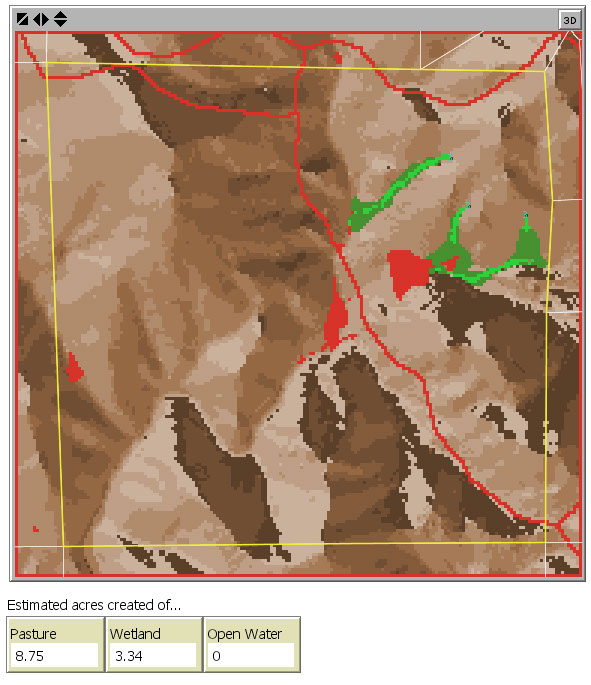
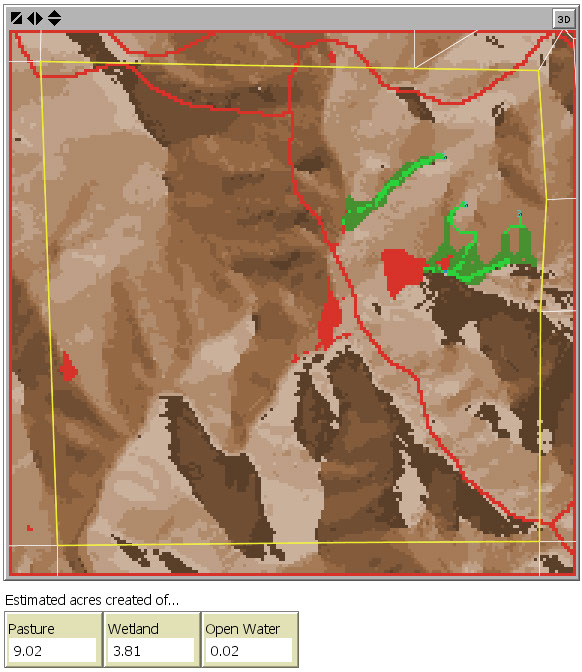
Now, we simply hit the Run Scenario button and the program will do the rest:
The program will produced both a visual estimate of the water flows, and the estimated acres created of pasture, wetland, and open water. Pasture is in dark green and wetland is in bright green. As you can see, once the wetlands hit red patches they stop flowing. This is because predicting what would happen when it hits these patches—be they roads or existing ponds—would require a lot more data and information than our program has available. So, we simply stop predicting what would happen then, and leave it to you to know how to plan for these on your actual landscape. You can get rid of these “barriers” if you like (see the Instruction Manual).
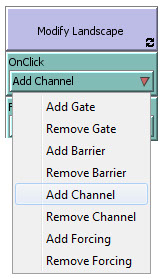
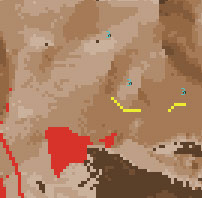
You can run as many scenarios as you want. Let’s say we want to create some channels to spread the irrigation water out as it flows to create more pasture. First, we change the OnClick drop-down menu to Add Channel:
Click on the Modify Landscape button again, and now clicking on the map will create channels—ditches that will divert water around the landscape as long as they are flowing downhill or perpendicular to downhill. To make it easier to see what we’re doing, first we’ll click the Clear Flows button to clear away the results of the previous scenario:
Now we can click the map to make two channels to divert water from the eastern two gates, to create more pasture. The channels will appear as yellow:
Clicking Run Scenario again, we can see these channels divert about half the water out to make new pasture elsewhere. Overall, this spreading out of the water has created both more pasture and more wetland!
That’s it for this tutorial! If you’d like more details, including what some of the other features of the program are and additional ways to modify the landscape, please see the Instruction Manual (included in the program download).