Overview:
Click on the individual sections to learn more about each part of the procedure.
1) Receive Your Collection Kit
Once you have filled out the registration form, we will send you your sampling kit!
Let’s see what’s inside your kit:
- Labeled 2mL tubes filled with ethanol
- Printed ID numbers matching the labels on the 2mL tubes
- Ziplock bag w/ paper towels inside
- Printed Protocol Card
- Return bubble mailer (gold/yellow)
- Return shipping label
- “Certified Arachnologist” sticker
2) Prepare to Collect Spiders
There are a few things, other than the kit, that will be necessary for catching and keeping spiders.
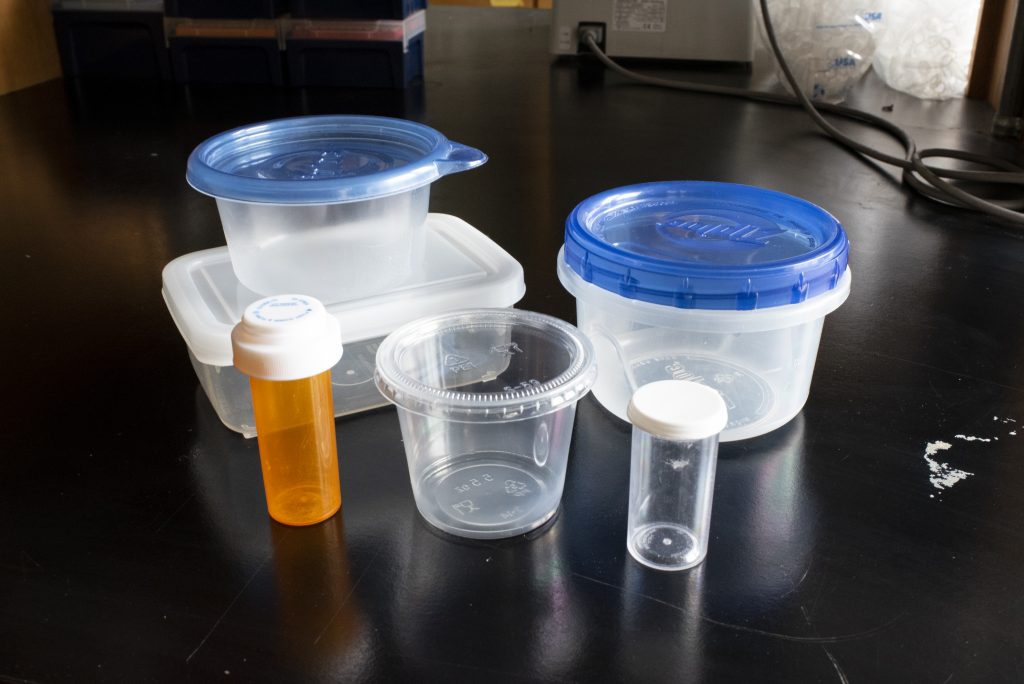
1) A Container per Spider you Intend to Collect.
- Containers can be Tupperware containers, medicine vials, small jars, or condiment cups with lids.
- These are used to easily catch the spider.
- Plastic containers are lightest and most convenient if you plan to hike or backpack.
2) A Smartphone
- This will serve as both your GPS and your iNaturalist tool (more on this later).
- Make sure you have GPS turned on. If you are in an area without signal, your phone GPS should still work.
- If you do not have access to a GPS through your smartphone, a GPS unit or a device capable of recording location will be needed.
3) An iNaturalist account
- This amazing tool will be how we document the spiders across California.
- Before you go out, you will need to create an account if you do not have one already, and get the application installed on your smartphone if you have one.
- Read our guide on how to set up iNaturalist here.
- Make sure to join our project on iNaturalist.
4) Printed ID Numbers
- In your kit, you will have received labeled vials along with a sheet of ID numbers matching the vials.
- These will be used when collecting, in order to associate the spider collected and its location with an ID number.
- Make sure to have these when you go collecting. Consider placing them in the tupperware ahead of time.
5) Printed Protocol Card
- We have included a smaller version of this protocol in your sampling kit. Take this along with you in case you need a quick reminder of this sampling protocol.
6) Other Personal Equipment
- Make sure to bring any other personal equipment you may need, such as sunscreen, water, and snacks.
3) Search for & Collect Spiders
1) Search for Spiders
- Check where you will be going on our interactive map to find collection locations.
- Refer to the “How to Spot and Collect Spider” video for demonstrations.
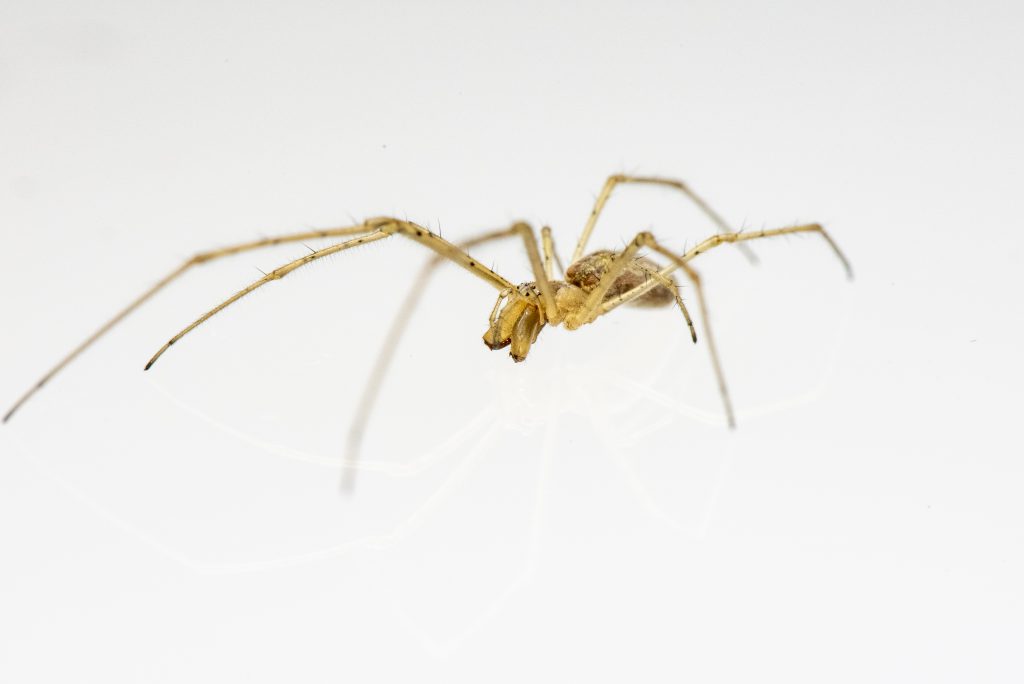
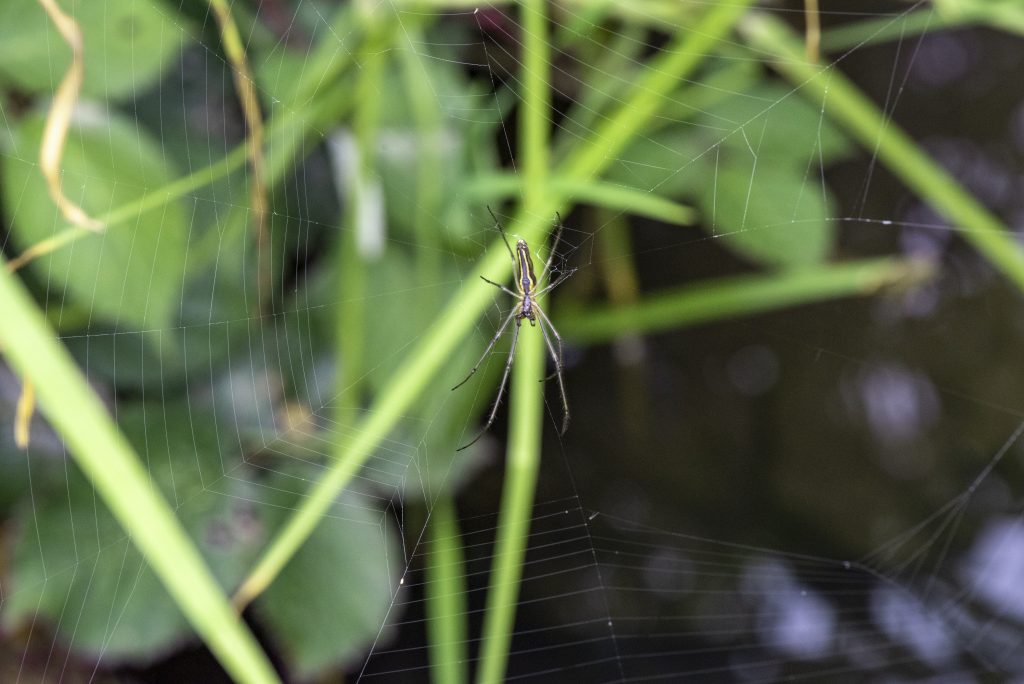
- Tetragnatha are noticeable by their orb-webs, body shape, and posture (refer to our Tetragnatha information page for pictures).
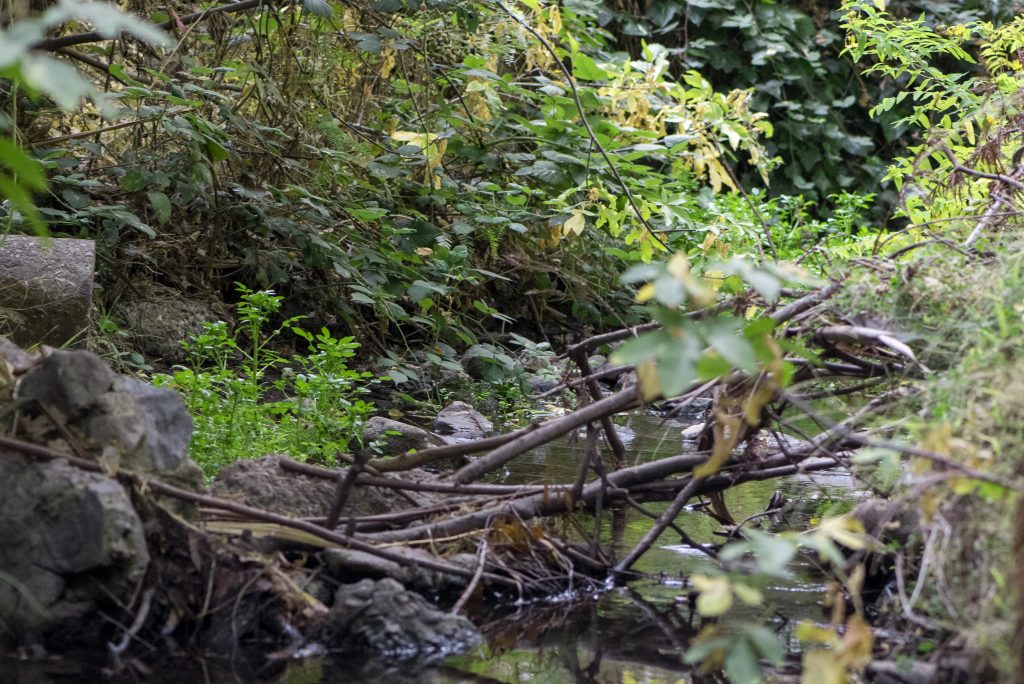
- They are frequently found near water, either with webs built over water or within 10-20m of a water source in vegetation.
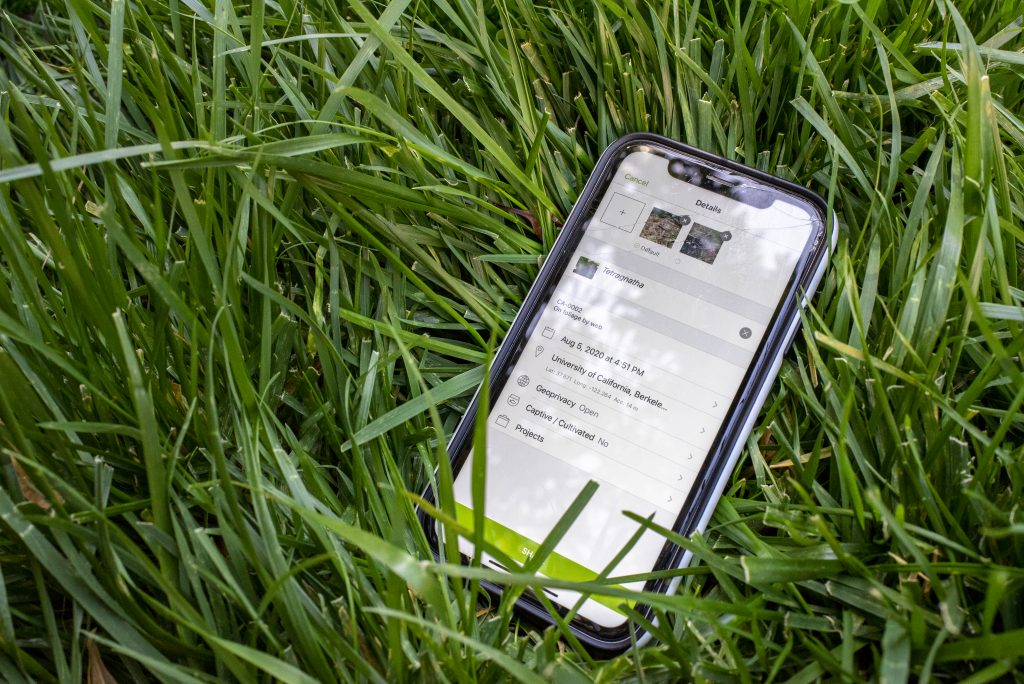
2) You found a spider! Now let’s collect data in iNaturalist
- Open iNaturalist, which you should have downloaded prior to finding spiders. Read the guide on How to Use iNaturalist for more information.
- Take a few photos of the spider.
- Upload the observation on iNaturalist. Follow the How to Use iNaturalist guide for specific directions.
- Don’t forget to add the ID number in your iNaturalist observation so that you can connect the data to this specific spider.
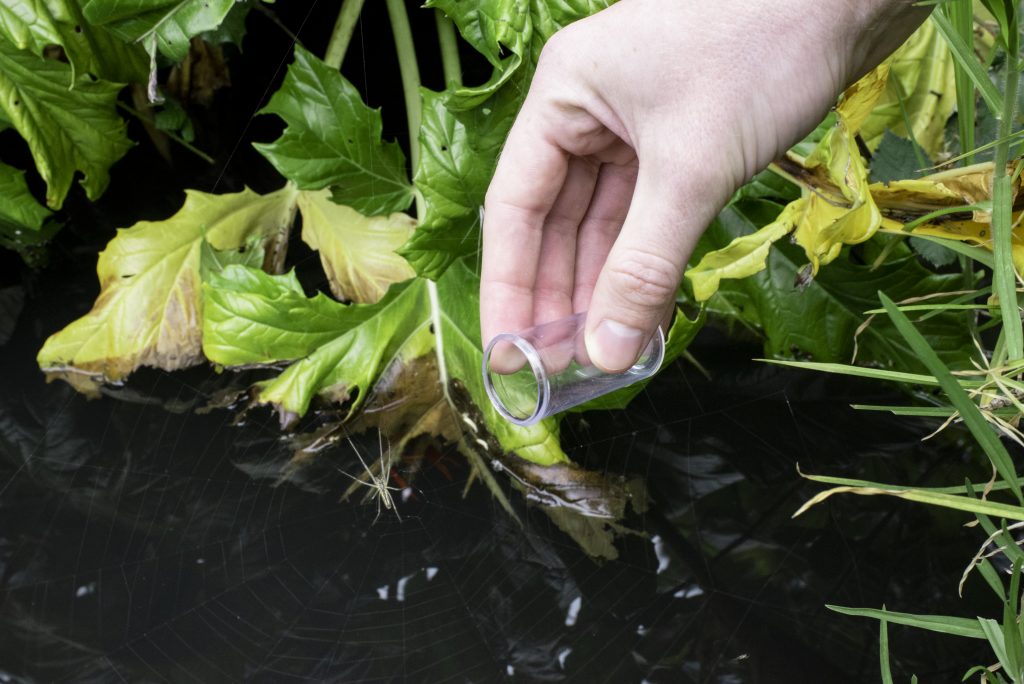
3) Now let’s collect the spider!
- Place the ID number you entered in the iNaturalist observation in the container you will be using for collection. Do this first to ensure you know which spider belongs with which iNaturalist post prior to collecting.
- If the spider is on a web, gently close the container around the spider. If the spider is off the web, you can use this same method, or use a stick/your hands to direct the spider into the container.
- Refer to the “How to Spot and Collect Spider” video and Tetragnatha Information page for more information about how to do this.
4) Now onto the next spider!
- You will be repeating these steps for every spider you want to collect. Make sure to use a separate container for each spider to match your iNaturalist data. (Spiders can attack or predate one another!)
- We recommend collecting at least 2 or 3 individuals per collecting location, but no more than 4.
5) Bring home the spiders alive
- On your way back home, make sure to keep the spiders out of direct sunlight
- If your return home will take more than 12hrs, we recommend that you place a few pieces of local vegetation, such as leaves or grass, or a wet piece of cotton or paper towel in the container with the spider so that the spider has some moisture.
4) Preserve Spiders & Enter Data
1) Get everything ready
- Once home, you will want to get the online Data Entry Form ready on your computer along with the ethanol-filled 2mL tubes sent in your kit
2) Match the ID numbers
- Match each label on your 2mL vials with the ID labels you have in your containers
3) Enter the data
- For each individual, fill out the data entry form with the information you have saved on the iNaturalist page.
- You can access the GPS coordinates by clicking “edit” on your observation.
4) Freeze the spider
- Now place that spider into your freezer until the spider is completely still (approximately 10min).
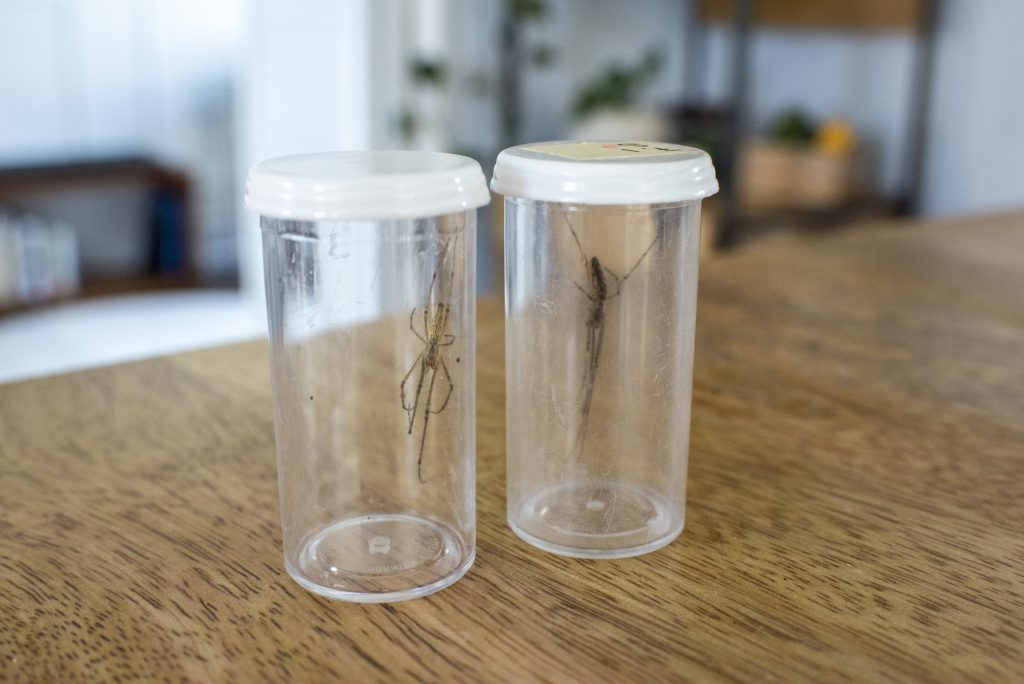
5) Place the spider in the tube
- Take the spider out of the freezer and using clean forceps (tweezers) or your fingers, pick up the spider and place it into the 2mL tube that matches the ID number.
- Close the cap tightly
6) Repeat for each spider
- Repeat for every spider, ensuring that the ID numbers match with the information provided.
5) Ship Specimens Back to the Lab
1) Pack everything up and get it ready for shipping.
- Make sure all of the caps to the 2mL tubes are tightly screwed on.
- Place all of the 2mL tubes into the small plastic Ziplock bag and make sure the bag is closed shut. Add a piece of paper towel or toilet paper to absorb liquid in case of a leak during transport.
- Place the small plastic Ziplock bag into the small bubble mailer (yellow/gold).
- Seal the bubble mailer and attach the prepaid shipping label to the outside of the package.
2) Send your package!
- Drop off your package at your local mailbox or take it into any USPS location! Once received, we will send you a confirmation email.
- **IMPORTANT** — If you cannot send your specimens out immediately, store them in the freezer until you are able to ship the specimens. This preserved the DNA so we can get high quality material when the specimens arrive!
3) Congratulations! You’re now an arachnologist!
- If you would like to collect more, please fill out this Extra Kit Request Form and we’ll send you more kits!
