1) Make an Account
On a computer, navigate to https://inaturalist.org/; on a mobile phone, download the iNaturalist app, and follow the steps to sign up.
Once you have made your account, you can add yourself to our iNaturalist project. Our project is “Eight-Eyed-Expedition” and is active from July 2020-July 2021. https://www.inaturalist.org/projects/eight-eyed-expedition
What Makes a good iNaturalist observation?
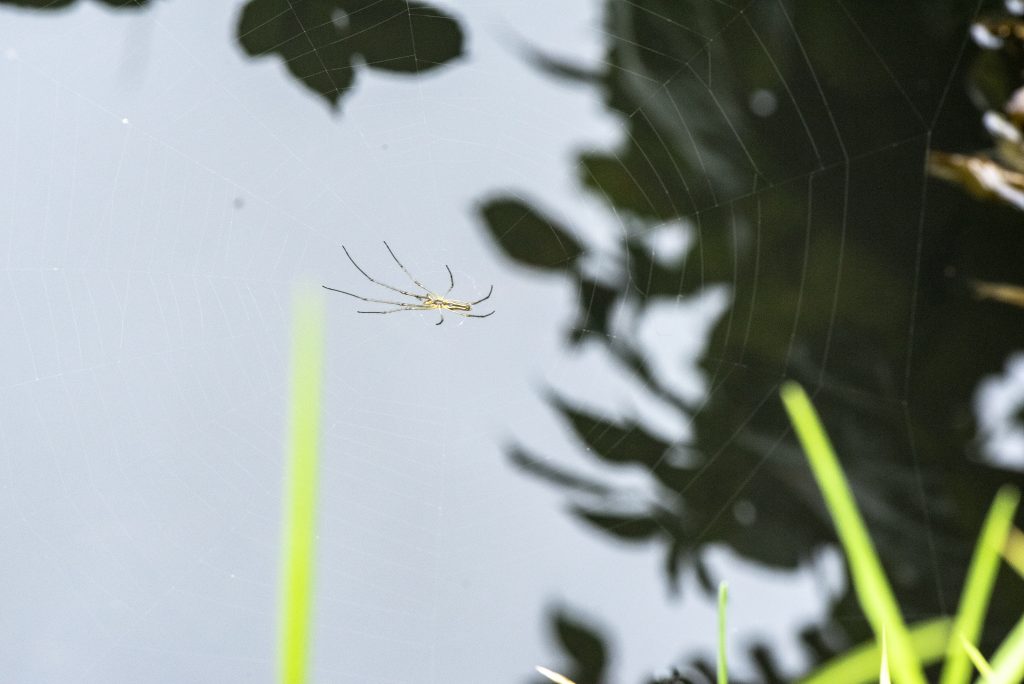
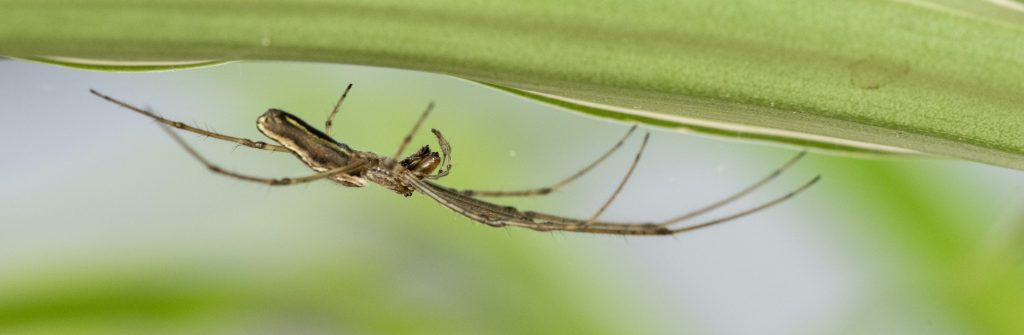
- Several photos from different angles
- Both close-up and context (i.e. habitat) photos
- Accurate location, time, and date information
2) Make an Observation
You can add observations into iNaturalist on the spot (while taking the photograph through the app) or after you have come back from your expedition (using the photographs you took on your phone camera).
Note: If your camera or mobile phone records GPS, all you need to do is take the photo. If it does not, be sure to note the exact location in a notebook or on a map so that you can retrieve the coordinates later.
Overview of Steps:
- Choose Your Best Close-up Photo of the Organism
- Add More Photos!
- GPS & Collection Data
- Add an Identification
- Add the ID Number & Notes
- Now Share the Observation!
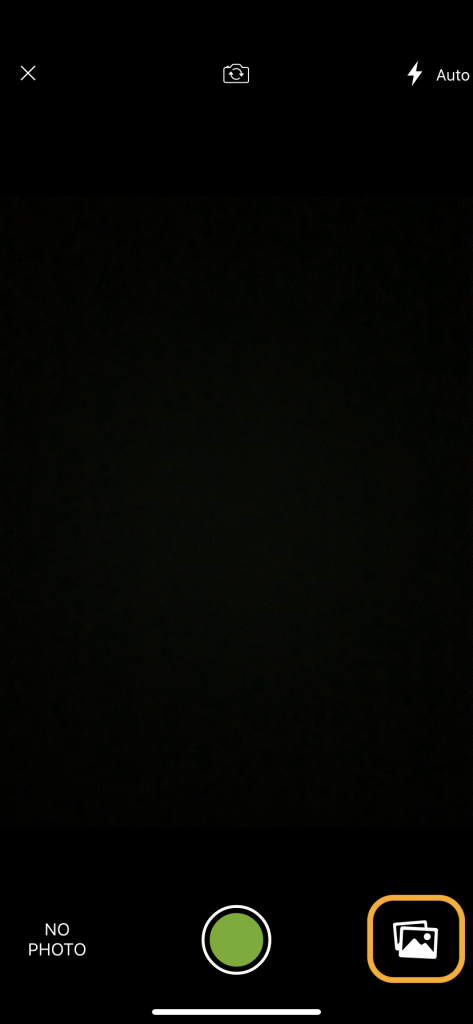
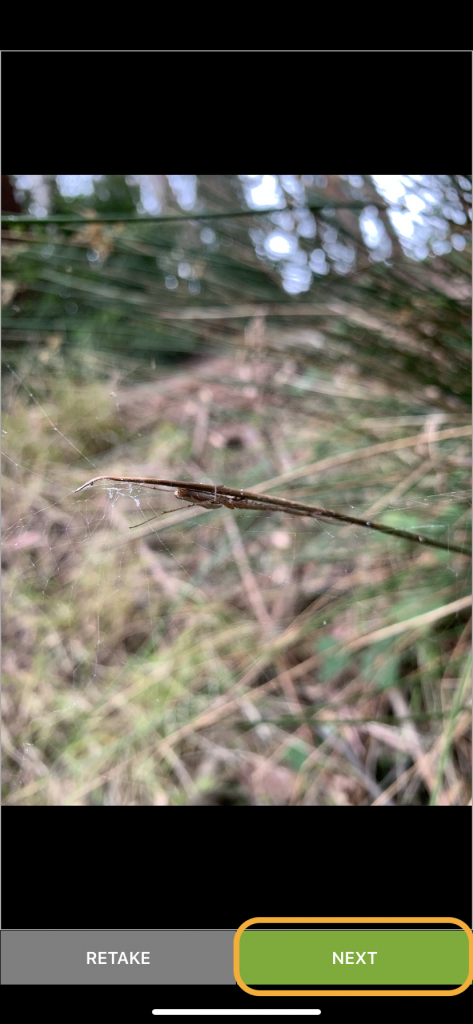
1) Choose Your Best Close-up Photo of the Organism
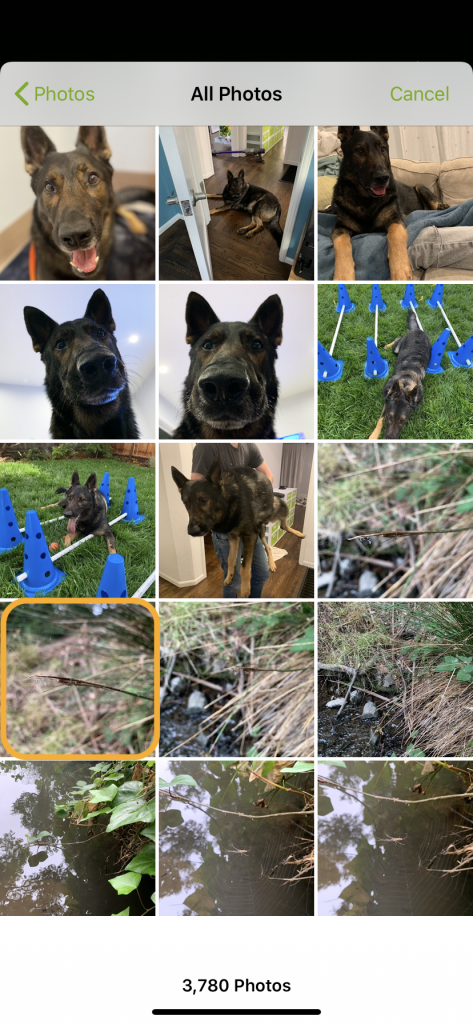
Once you have photos of the organisms, upload them to iNaturalist (ignore this if you took the photo in iNaturalist).
- On the web version, you can click “Upload” from the upper right-hand corner of any page.
- On the mobile version, click “Observe” from the menu at the bottom. Follow the following steps, as shown in the images.
2) Add More Photos!
If you took multiple photos of the organism, add them to your observation

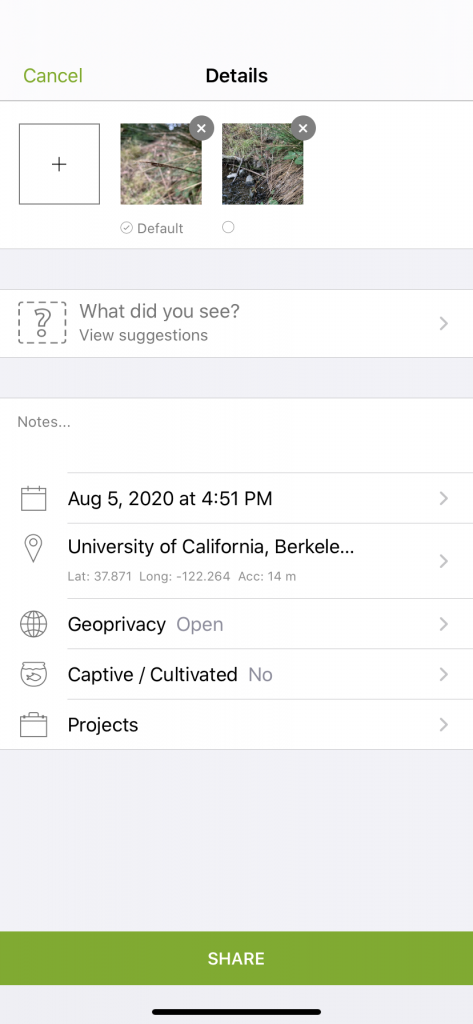
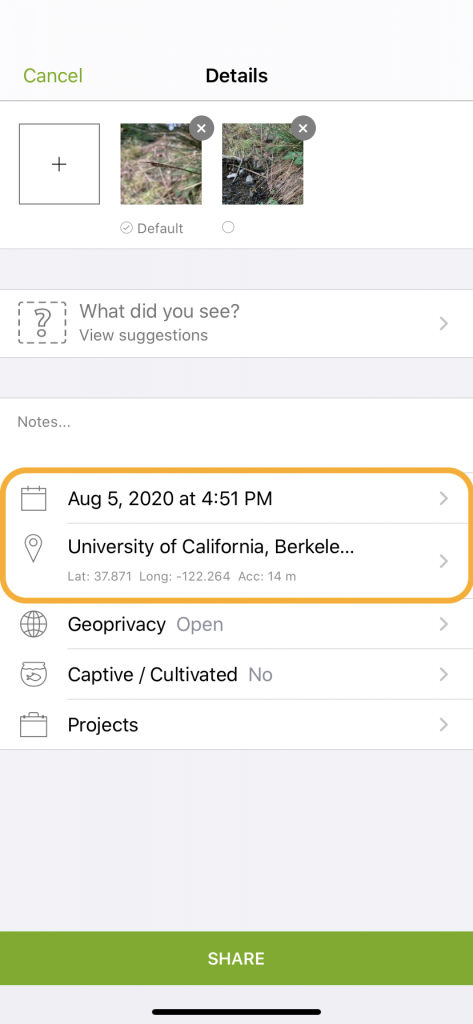
3) GPS & Collection Data
If your camera or mobile phone records GPS and date information, these fields (outlined in yellow, below) will automatically be filled out. If it does not, enter the date, time, and location of your observation manually.
- Because some smartphones require an internet connection to store GPS data, it is important to always record your location in another way (i.e. writing down coordinates or marking your position on a map)
Note: Later on, if you want to check the coordinates of your observation, you can click “Edit” to return to this page and view the coordinates.
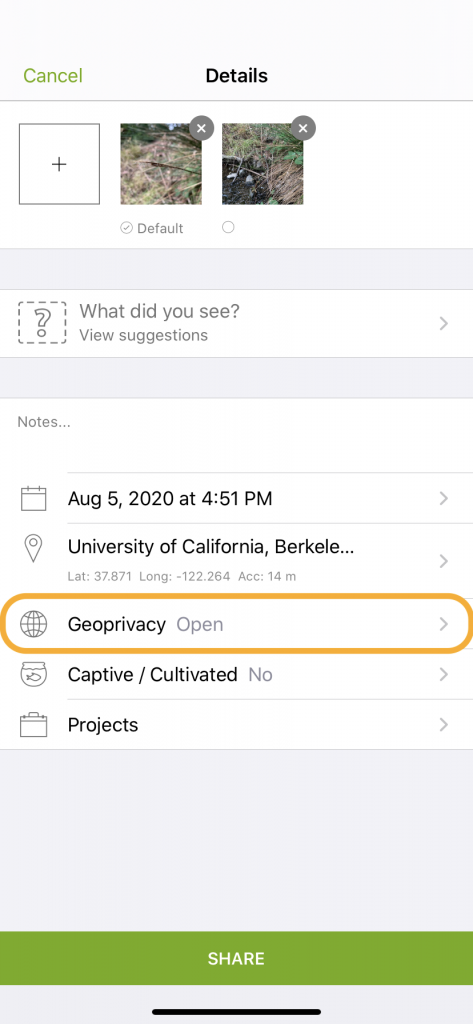
Make sure your Geoprivacy (sometimes also called “location visibility”, outlined in yellow, below) settings are set to Open.
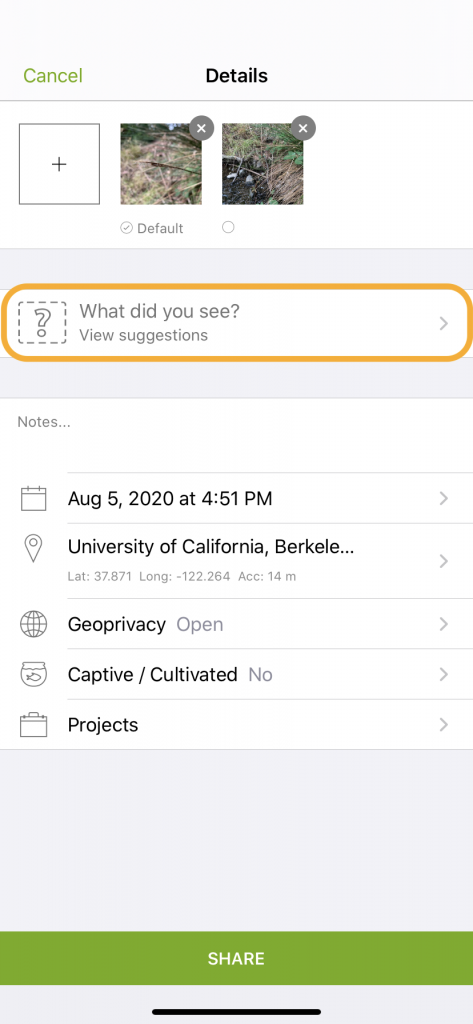
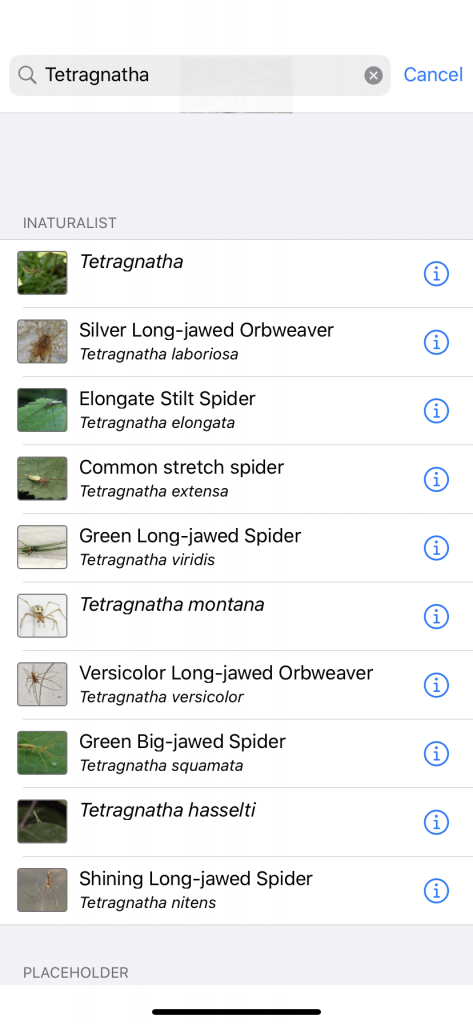
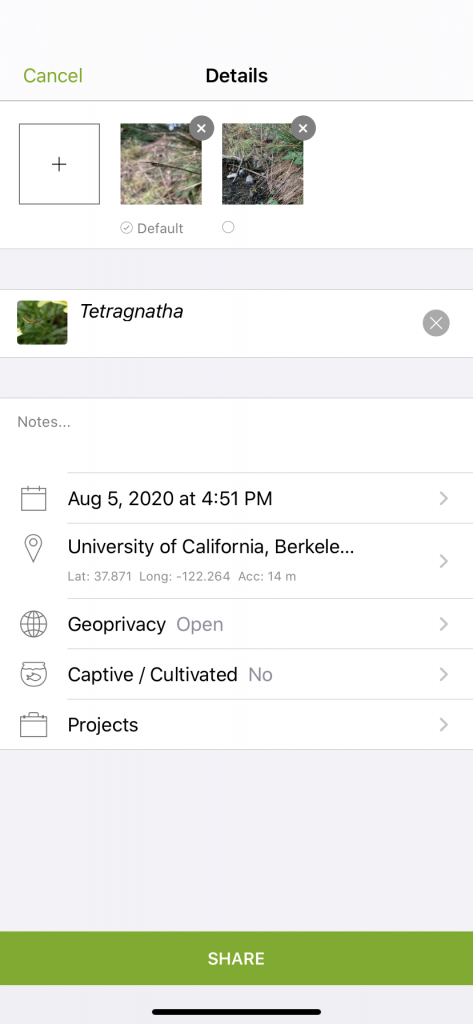
4) Add an Identification
iNaturalist has an artificial intelligence feature that tries to identify what you observed. See if it provides any suggestions by clicking “What did you see?” on the mobile form, or by clicking in the “Species name” field on the web version. iNaturalist will give suggestions, and you can choose the best one.
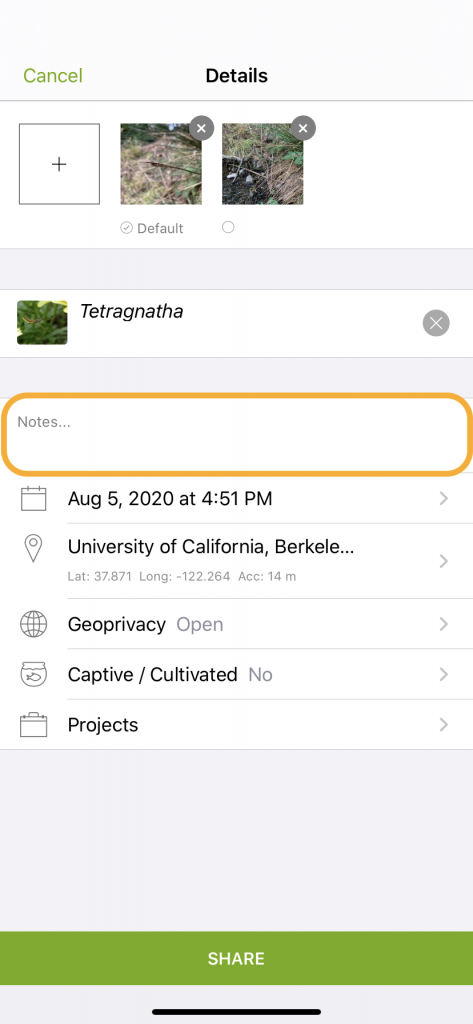
5) Add the ID Number & Notes
In the “Notes” field, enter the ID number for this individual specimen (example: CA-0002, CA-0046, etc).
Also, if you have any other information to share, such as observations of the habitat and behavior, feel free to add this information to the Notes section as well.
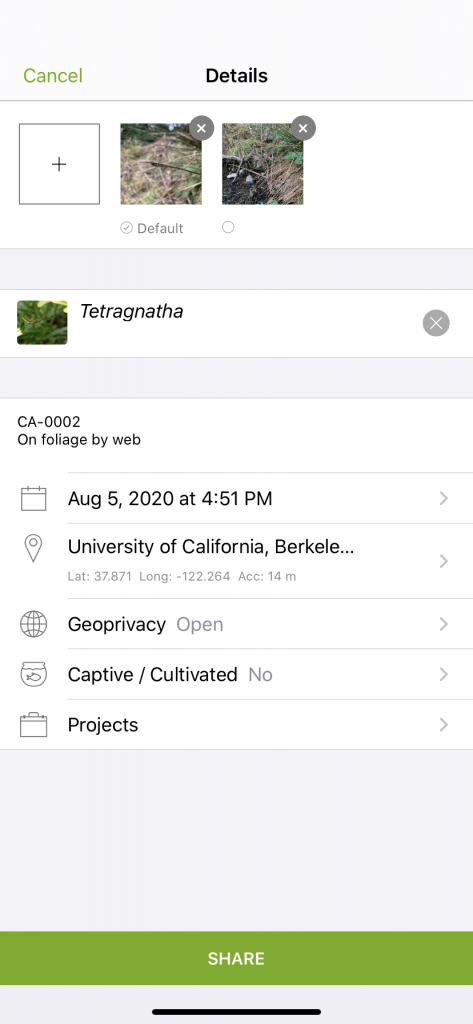
6) Now Share the Observation!
Once you have added all of the information you can, click “share” (mobile) or “submit observation” (online) to upload your observation to iNaturalist.
If you have joined our project, your observations of Tetragnathidae and Araneidae spiders will be automatically added to the project!